 Cart(
Cart(
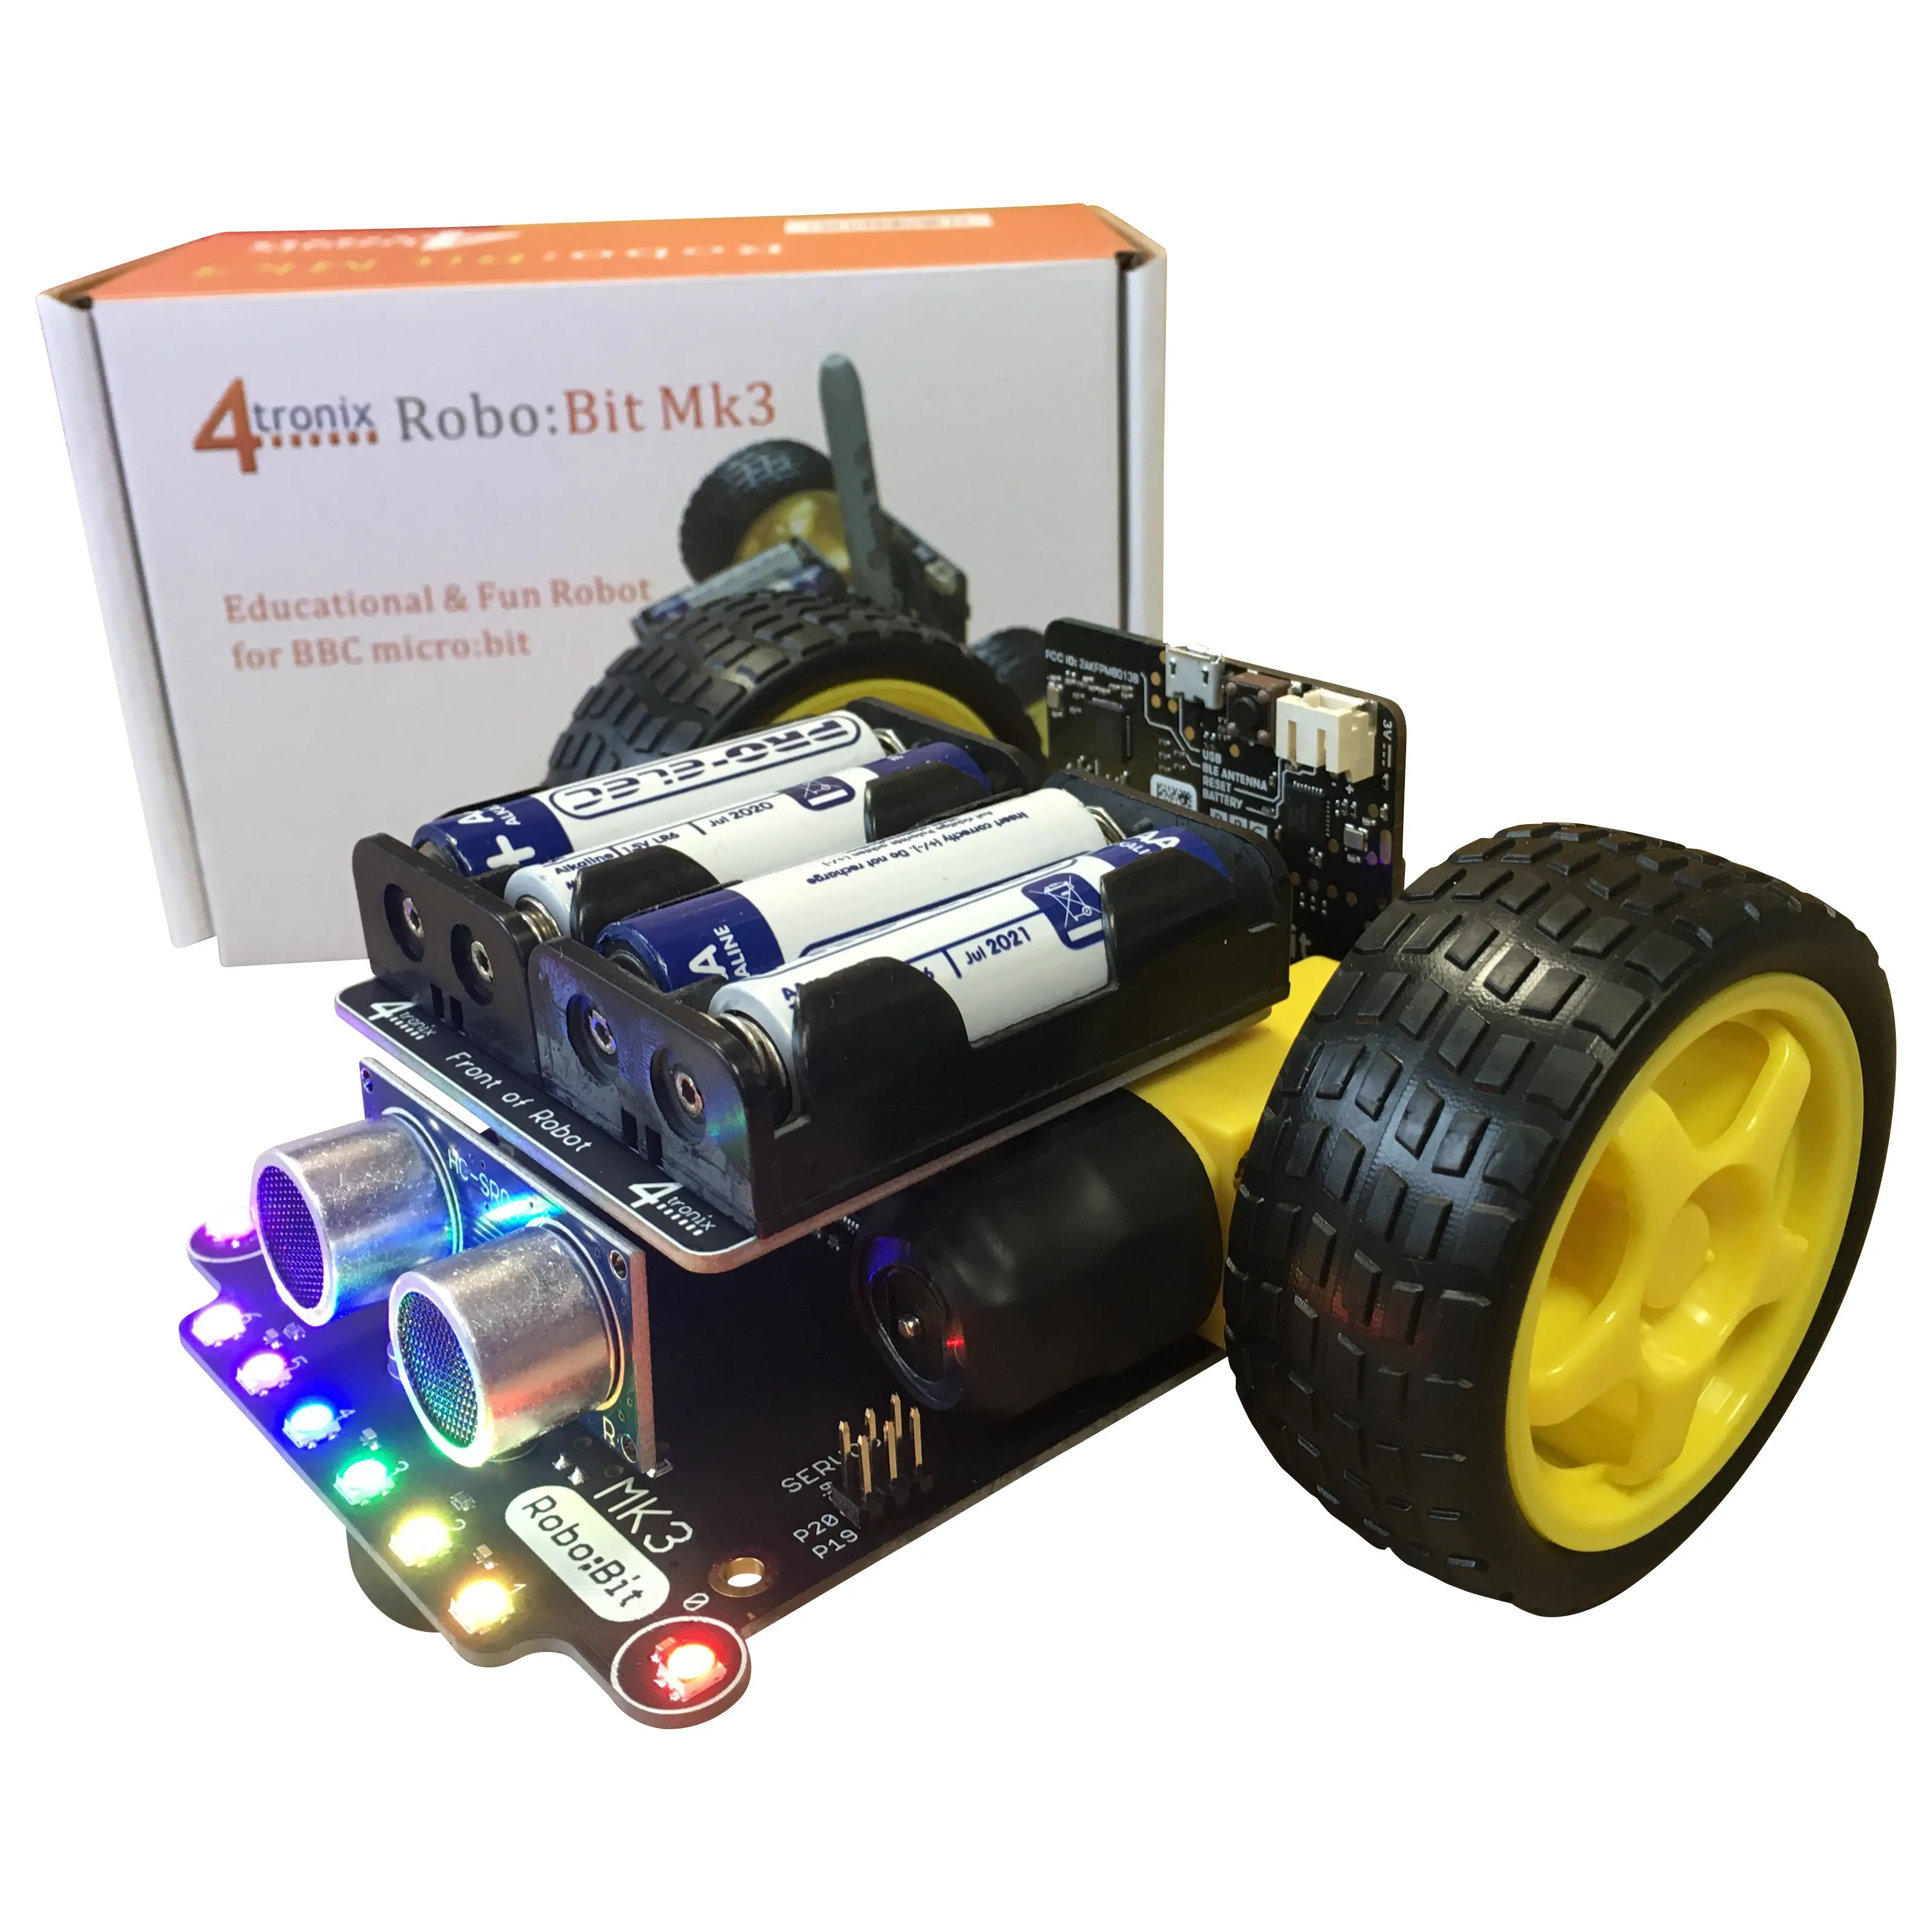
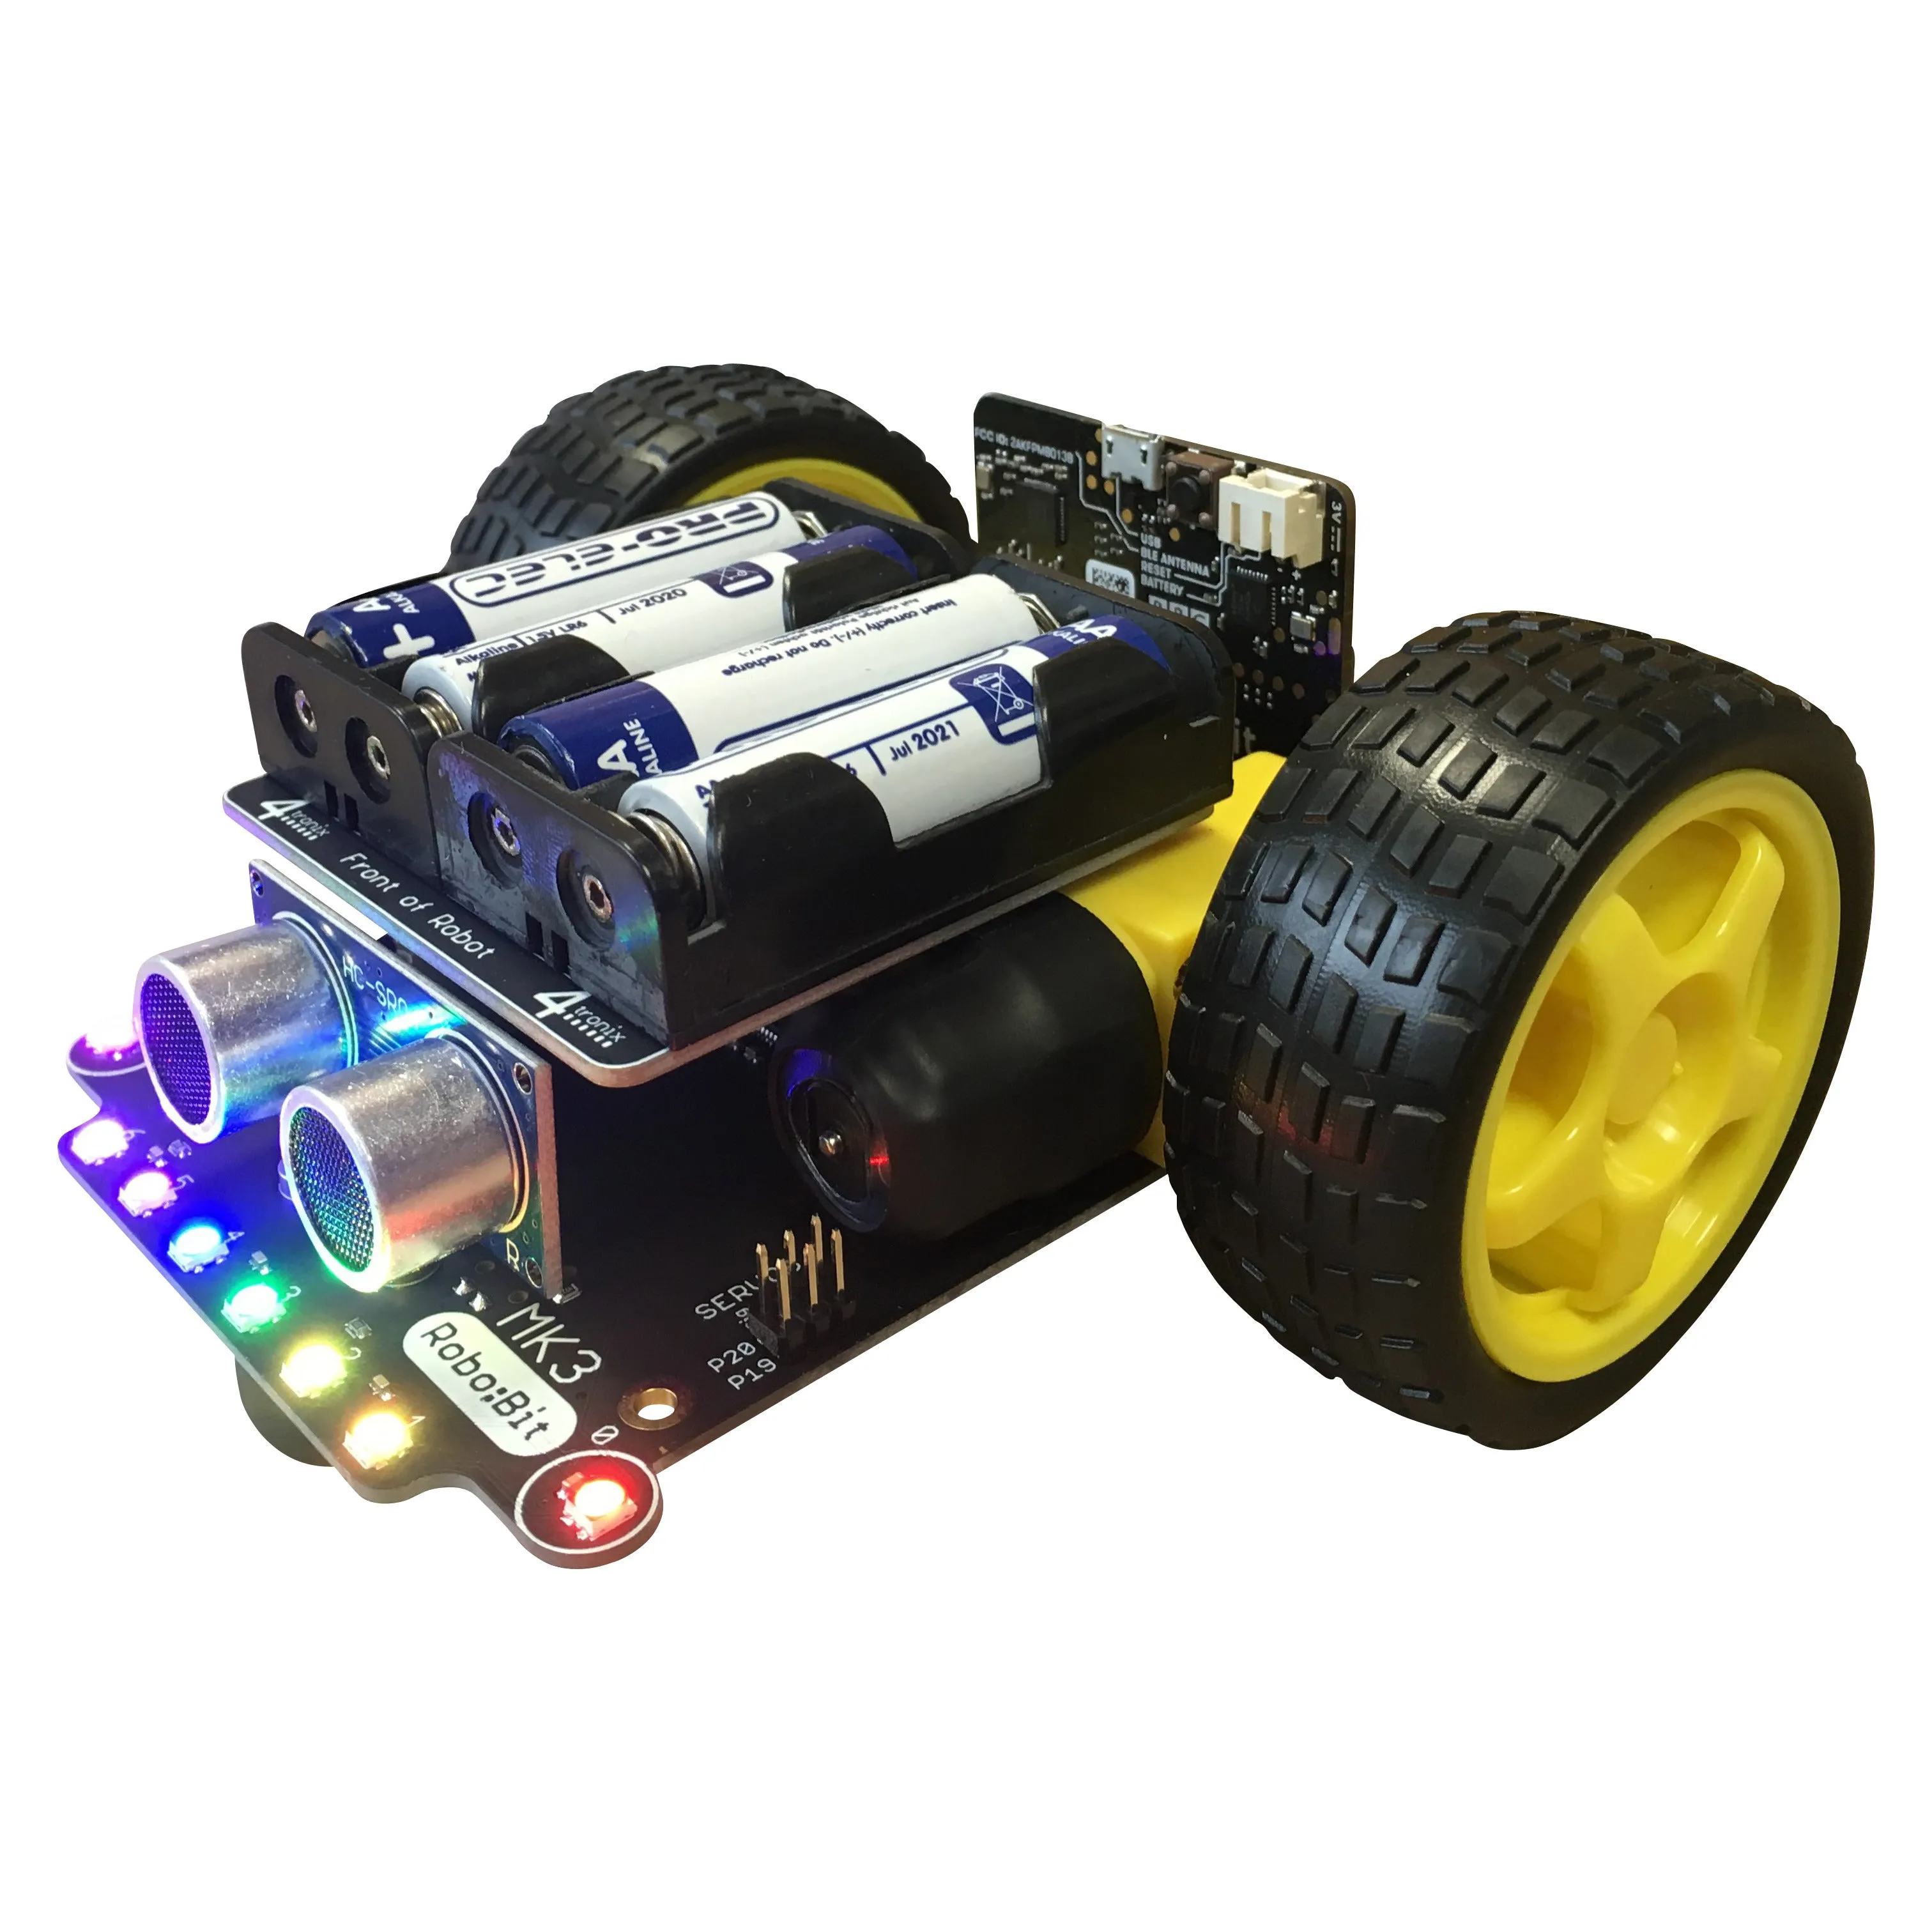
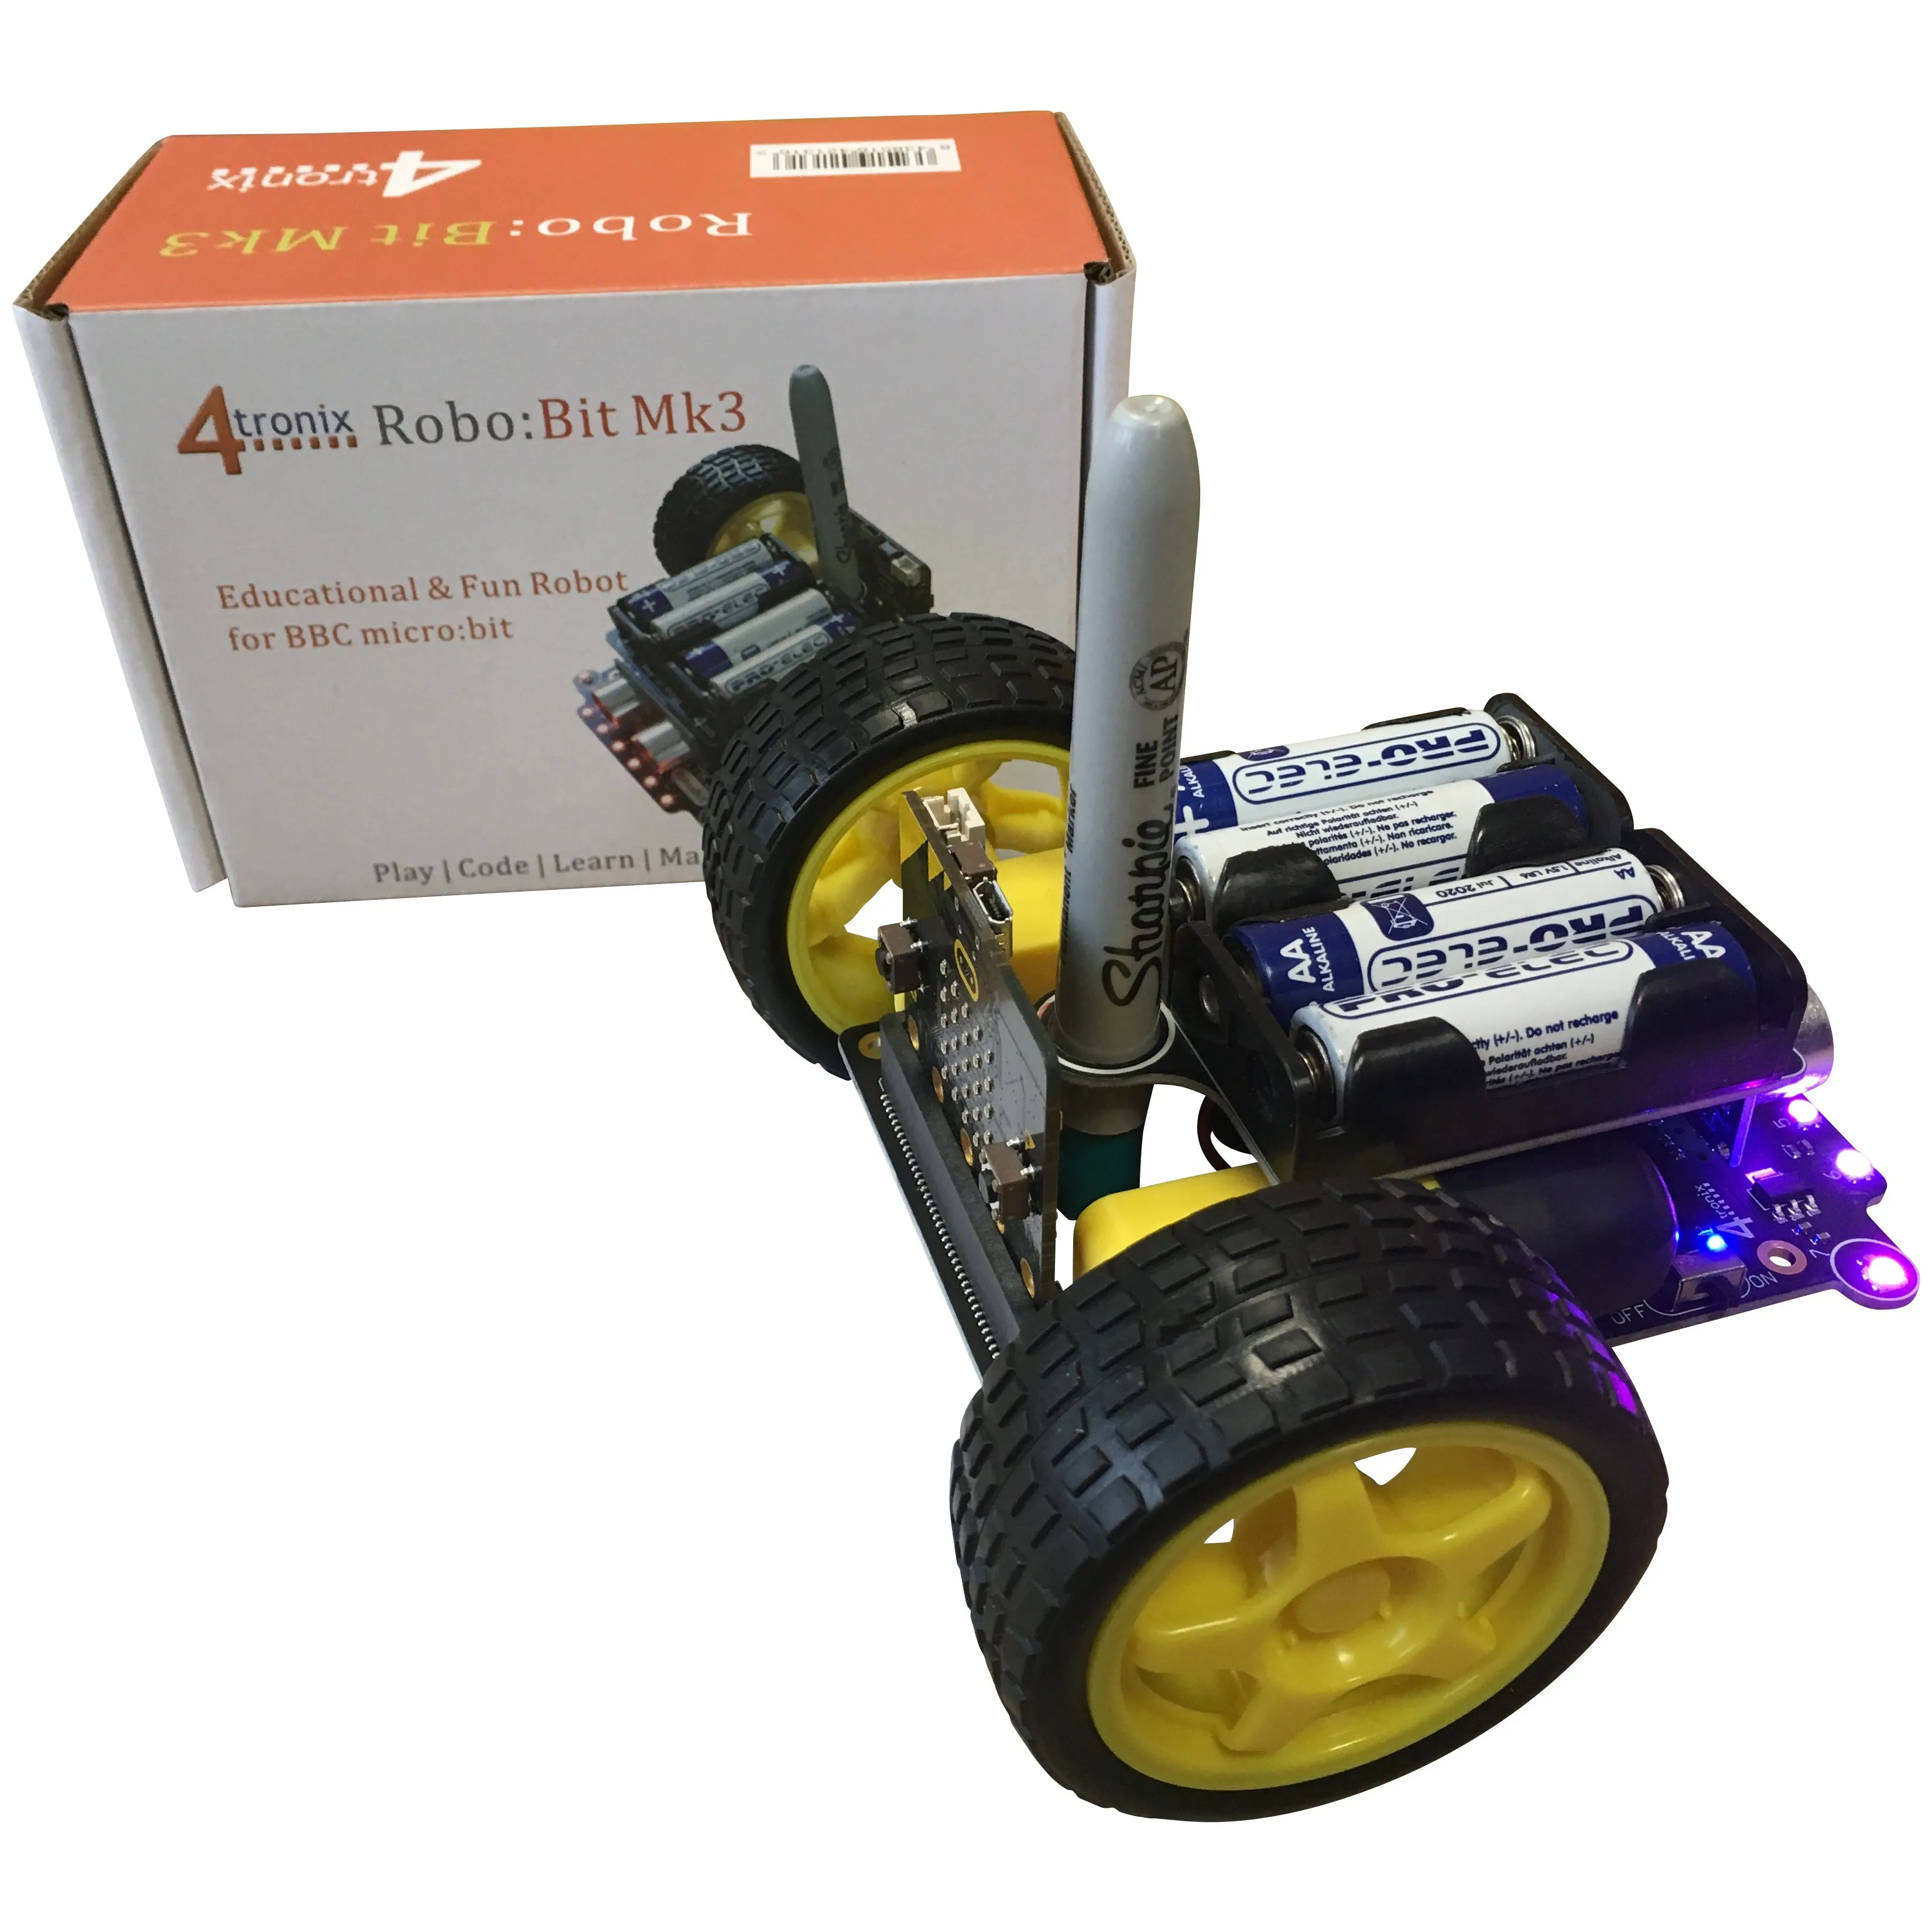
Robo:Bit Mk3 DIY Buggy for the micro:bit
Version 1.3 of this popular kit now uses a removable ultrasonic sensor, that uses the same connector as used on the Minibit and BitBot XL. This allows the use of alternative addons, sich as the new , and .
The Robobit Makecode package supports all versions of the Robobit Buggy
This little buggy can be assembled very quickly using only a screwdriver. No soldering is required
For assembly and programming tips, please
Mk3 changes from Mk2:
- Integrated line following sensors
- Integrated ultrasonic distance sensor with new connector
- Integrated pen holder mounted at the axis of rotation
- Integrated 8 element FireLed bar with “auto scanner” software support
- Motors fitted on top to make it more compact
- Screwdriver and wrench tools included
Contents:
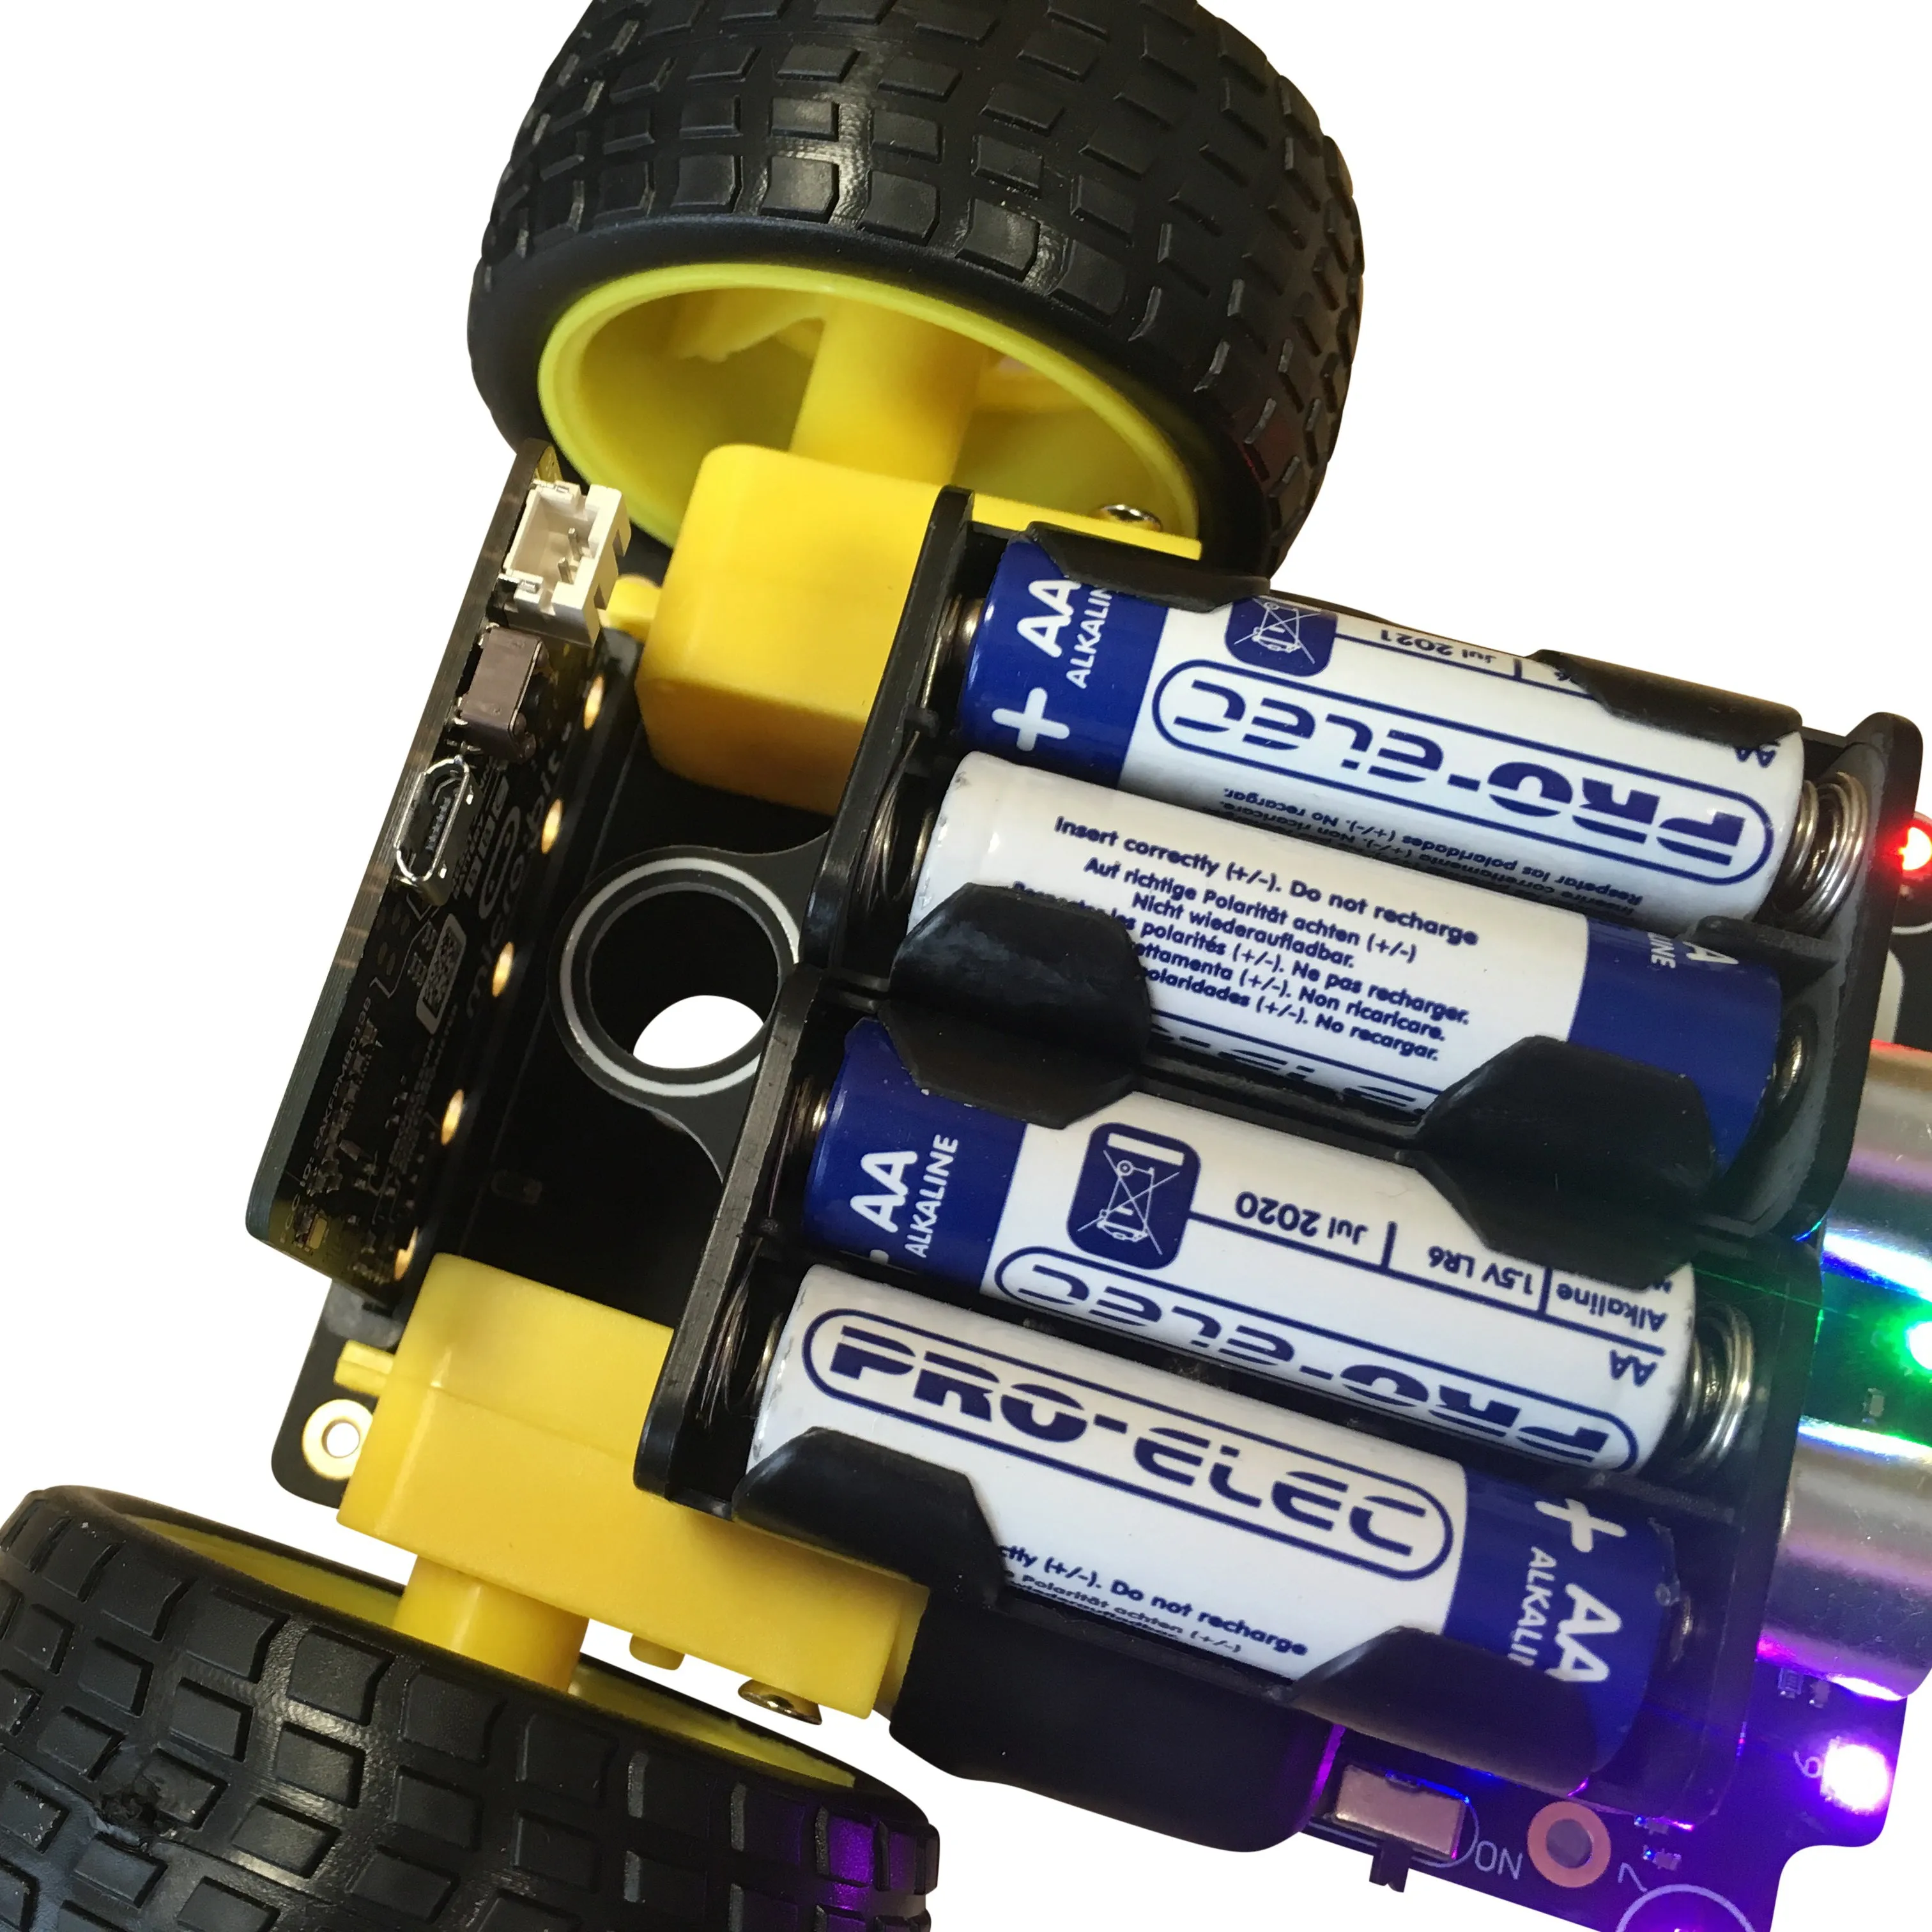
- Robo:Bit Mk3 robotics controller PCB
- Battery holder PCB
- Fixings pack (motor mounts, screws, mounting pillars, caster, etc.)
- 2 x Yellow Wheels with Tyres
- 2 x Motors with pre-fitted connection wires (no soldering required)
- Screwdriver and wrench
Using this great kit you can learn about:
- Controlling motors with simple Forwards / Reverse controls
- Controlling the speed of motors in both directions using PWM
- Use a second micro:bit with the easy-to-use radio software to control the buggy
- Use the motion sensor on the micro:bit to detect collision with obstacles and avoid them
- Detect when obstacles get close and change the program to avoid the obstacles
- "Follow-Me" program that tries to stay a certain distance from the object in front
- Use the 2 line sensors either side of the non-reflective line to detect the line and keep the buggy on track
- Write more complex programs that behave as required if you meet a T-Junction or crossing of lines
- Compare different line following strategies - create a race-track and see which strategy is fastest
- In combination with the distance sensor, make it avoid obstacles on the track and then re-acquire the line


")


